Sears Companion Lathe Page
It all started of quite innocently, I was browsing eBay and saw a small lathe, the bids were still quite low and upon inquiring, yes, the seller would ship to Canada for a very reasonable rate and he was very happy to answer any questions. When the auction ended I had purchased a small lathe of a so far unknown brand. As I waited for it to arrive I searched online to identify it and finally determined it was a Sears Companion. It has a 6" swing and 18" center to center capacity. A 4" independent 4 jaw chuck was the only accessory included.
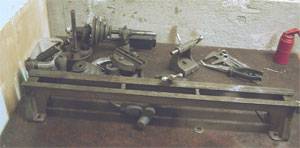
When the shipment arrived I had a box of parts, my first impression was amazement at how tiny everything was. Even though the parts were shown with a tape measure for scale on eBay it was still a bit shocking to see them in real life.
To save on shipping charges I had decided to not have the motor and stand shipped as well as the counter shaft frame that looked pretty crude and heavy.
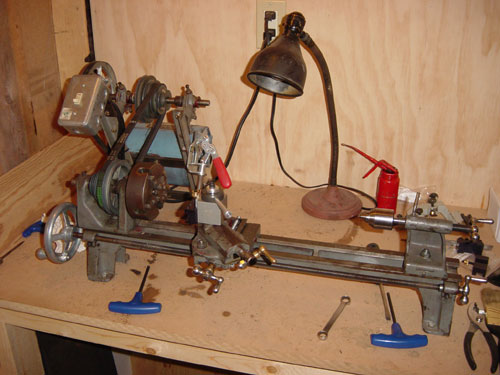
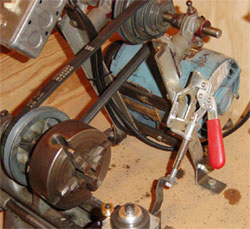
After cleaning the parts I assembled the lathe and adjusted the gibs in the compound, everything seemed pretty good so I put together a new counter shaft frame.
Before I had got around to making a lever for the counter shaft I found a Toggle Clamp on sale so decided to use it. During my search to identify the lathe I discovered The Little Machine Shop
, once I determined that the lathe was actually functional I put in an order to them for a A2Z Quick Change Tool Post and a live center for the tailstock.
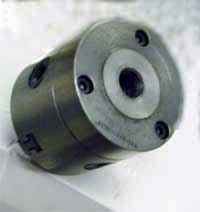
Sherline Head Stock
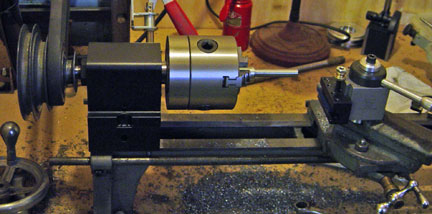
The only weak point was the head stock, the bearings were pretty worn, I had tighened them up the best I could. It had a very small spindle size, 1/2" - 20, apparently it is quite easy to bend the spindle nose if the tool digs in to far. I also wanted an automatic 3 jaw chuck so decided to bite the bullet and get a Sherline head stock with a larger spindle.
The Sherline head stock only has a 3 1/2" swing but there is a 1 1/4" riser that brings it up to 6". I mounted the riser to the lathe bed with four 1/4" X 20 Allen bolts, the rear front hole was an exact fit for the bolt, the other three holes were over-size so the headstock can be adjusted parallel to the ways, the snug hole acts as a pivot. I plan to add strips of flat iron to each side of the bottom of the risr and have set screws at each end that but against the side of the bed to make adjustment easier and more importantly to lock it in position. How I was going to align the headstock to the ways had me thinking for a while, until I found these instructions:
Rollie's Dad's Method of Lathe Alignment
I followed his instructions for measuring the run out, then moved the riser, it only took a few tries and I was good to go.
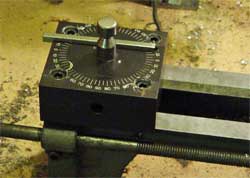
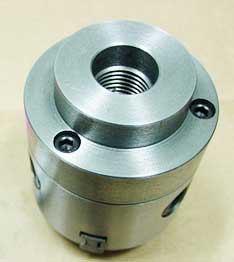
Three Jaw Chuck
The three jaw chuck I bought had a wide shoulder on the back of the adapter which prevented it from threading on to the short Sherline spindle. I removed the adapter from the chuck, threaded it on to the spindle backwards and turned off the shoulder.
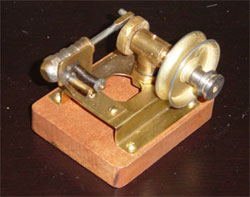
One of my first projects was this little steam engine, it has a 3/8" bore and 3/4" stroke. The cylinder and crank bearings are plumbing fittings, the flywheel is a rope sheave pulley. I pretty well winged it as I went along and it actually runs good on air. My Steam Engine Pages: